Showing posts with label crafts. Show all posts

String Art

Monday, November 16, 2015


I've had string art on my To Do list ever since I saw it on Pinterest... but have never got around to it. I had grand plans of making a pattern on my Silhouette Cameo and then nailing the pattern onto a piece of wood but let's get real - that hasn't happened! (Although i do think Joe would do that for me). I saw a little kit at Joann's for 30% off and knew immediately that the kit was mine!


I didn't want to use the white thread that came with the kit, so I picked a pretty turquoise color of DMC floss. I love how it turned out!


Have you ever made string art?

I love reading each and every comment! Be sure to keep up with me on Instagram, Pinterest, and Facebook!

Heidi Swapp Marquee Letter "B"

Thursday, April 16, 2015


I finally caved and bought one of those Heidi Swapp Marquee Letters from Michael's. I was in the store when all the supplies were 50% off and couldn't resist any longer!


I made this one for my Mom for her birthday. I love the pink glittery washi I got for the inside of the "B" - when the light is on, it really helps brighten it even more!


I used the provided letter template to trace and cut out scrapbook paper from Pink Paislee's "Bella Rouge" line. It was perfect for the washi tapes I got.


Have you made a marquee letter yet?

I love reading each and every comment! Be sure to keep up with me on Instagram, Pinterest, and Facebook!

Little Golden Deer

Friday, January 16, 2015


So I was walking through Hobby Lobby recently and saw a little paper maché deer. This was a total impulse buy... but it was half price, so I only paid $5! I've been wanting to put one of these deer heads in Joe's office, but never got around to getting one. I love how this turned out!


I forgot to take a good picture before I started painting. Oops! I used acrylic craft paint. I already had the gold so I just picked up some navy paint.


I'm going to hang it above the door in Joe's office. He likes it!


I love reading each and every comment! Be sure to keep up with me on Instagram, Pinterest, and Facebook!

Golden Year Letterpress Calendar

Thursday, January 1, 2015


Happy New Year!

I love calendars so I ordered the Golden Year 2015 Letterpress Calendar cards from Studio Calico. These cards are gorgeous!! I am seriously in love with gold. I immediately decided to find a way to display the cards all year (so I can admire them often!)


I got out my Bind-it-All and bound the cards. I created a cover using this card from the Shimelle Lovely mini PL kit and the "2015" stamp from the Park Avenue Studio Calico PL kit.


I can't wait to look at these pretty cards all year.


I'm so glad they included this design. It was one of my favorites from 2013!


What kind of calendar(s) are you using this year?

I love reading each and every comment! Be sure to keep up with me on Instagram, Pinterest, and Facebook!

Fabric Strip Christmas Tree

Thursday, December 4, 2014


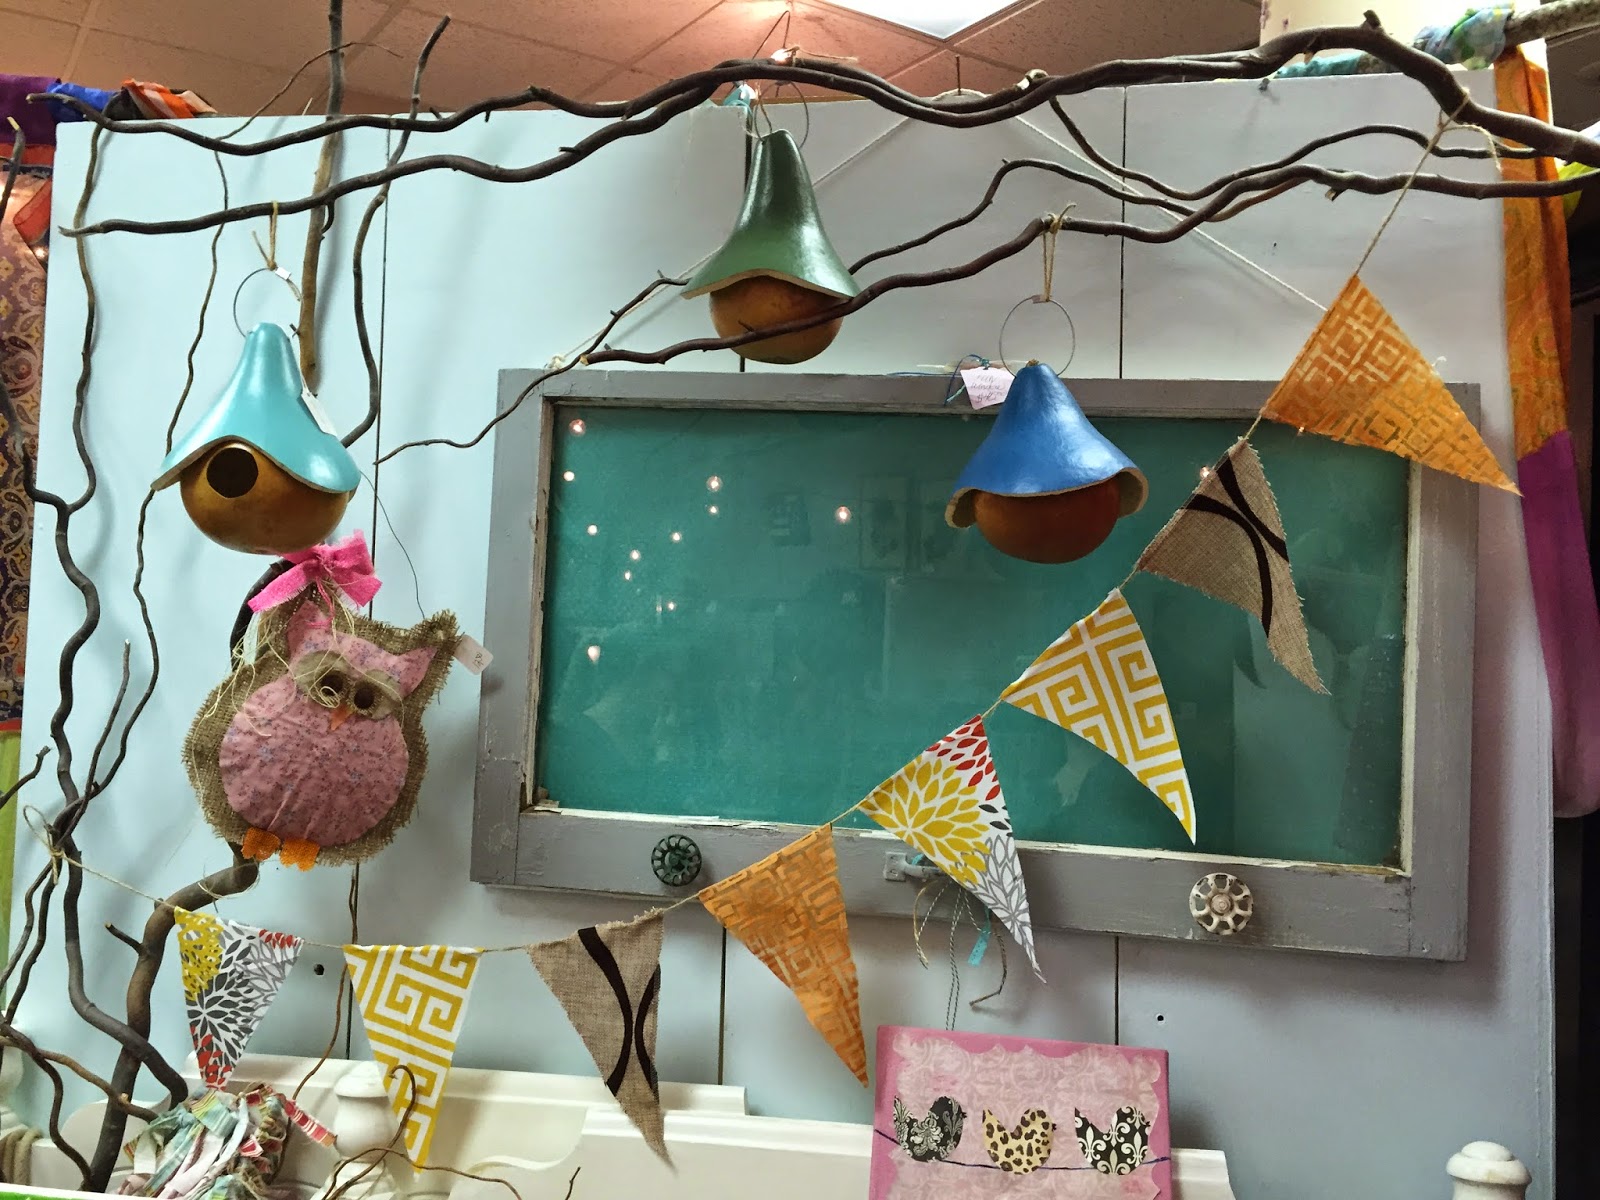
I attended my first "Pinterest party" last month at a sweet little local shop called Redeemables. We made a fabric strip Christmas tree. I would never have made it on my own, but I LOVE how it turned out!


Can we talk about the shop's name first? There's a sign at the checkout counter that defines "redeem" and it's awesome. The store brings new life to old items. They also have some new items, but most have been found and redeemed.


The displays around the store are amazing.


So for our craft, we picked coordinating fabrics, ripped them into strips, and tied them to a leather cord. We hot glued that cord to the burlap back piece and added a topper to the tree. I trimmed up the edges of my tree when I got home. Simple and adorable!


All 3 of our trees turned out different!


I stole this photo from Facebook. There were so many of us there that we had to take 2 pictures!


Have you ever made a Christmas related pin?

I love reading each and every comment! Be sure to keep up with me on Instagram, Pinterest, and Facebook!

MAMBI Wall Art

Wednesday, October 8, 2014


Have you seen the large clear stickers from Me and My Big Ideas? I've seen them at Michael's and at Hobby Lobby. There are several different categories, like Home and Life and Love. I just had to pick up a couple of them and create some wall art for my home!


 The "Hello" is a beautiful shiny gold, but looks a little green here with the light.


I got some cheap canvases and simply put these stickers right on top. They've held up really well (except for one!) I just used some spray adhesive on the back of that sticker and now it stays just fine.


Have you made a project with these stickers yet? I love them!

I love reading each and every comment! Be sure to keep up with me on Instagram, Pinterest, and Facebook!

Trying Brush Script

Thursday, September 25, 2014


So I've been infatuated with Kal Barteski's brush script art for quite some time now. I have almost zero experience with painting so I didn't think it was something I could do. But when Mom and I went to one of our classes at CKC Charlotte, we tried brush script. We picked a preprinted phrase, cut it out, and inserted it into a vellum bag. Then we used india ink to trace the phrase onto the bag. The india ink dries a little lighter than I prefer. Part of what I like about Kal's work is how stark and graphic the black words are against the white background. She uses other colors too, but the black and whites are my favorite. Maybe. I'm kind of digging the ones with color behind the words. I'll take one of everything, please!


One night I decided to sign up for Studio Calico's class called Life Scripted. It includes several videos where Kal teaches you how to do brush script. I LOVED THE CLASS!! At first, I used acrylic paint and was somewhat satisfied with it. I went to Michael's later that night and got the medium that Kal uses - it's called gouache ("gwash"). It's sort of an opaque watercolor.


I also practiced the alphabet. I used plain printer paper (cheap!) and a little mixed media sketch book I got at Michael's. I felt a little bit like an artist with all these pieces of paper scattered all over my craft room!


I didn't have quite enough gouache on my brush here. I was also using a larger brush than I wanted. I couldn't find small size 2 or size 4 bamboo brushes at Michael's or Hobby Lobby. I did find some online and they're on their way to me! Can't wait to try them out.


This is actually painted on a light blue piece of card stock. My camera wasn't cooperating with me, but that's okay. I plan to cut this down and put it into my sadly neglected One Little Word binder (which I've actually been working on recently. More to come soonish).


Have you tried brush script?

I love reading each and every comment! Be sure to keep up with me on Instagram, Pinterest, and Facebook!

Wedding Memory Board

Wednesday, September 10, 2014


I've been working on wedding projects! A friend asked me to create a memory board for her wedding. She wanted to honor her loved ones that have passed away and others that weren't able to travel to the wedding. She let me have free reign on what to do! It took me a while to figure out what to make, but I like how it all turned out. Of course I turned to Pinterest for inspiration. I started out by stretching some string tightly across the back of a frame and stapling into place.


And then I realized that wasn't going to work. I like how these frames look without a back on them when displayed on a wall; but this frame was going to be displayed on an easel. I removed the staples and redid it so the string was looser.


I found some silver poster board and cut it down to size. I was able to pull some strings a little tighter when needed.


Then I used the Cameo to create name tag banners. The wedding colors were light purple and black. I had some sparkly black clothespins I got on clearance last year. They were perfect for this project. (I knew I needed them when I bought them!)


I'll be back later this week to show you how to curve your text and make these banners. How did you honor your loved ones at your wedding?

I love reading each and every comment! Be sure to keep up with me on Instagram, Pinterest, and Facebook!

Framed Word Art

Friday, April 11, 2014


Have you seen those 8x10 ready-to-frame Word Art prints from My Mind's Eye? Ever since I saw them, I've been wanting to paint a wooden frame from Michael's and put a print in there.


I got a shadow box because the frames didn't come in an 8x10 size. I used a 40% off coupon so it was pretty cheap! I didn't get a good picture of it, but I painted the outside edges lightly with gold. 


I used a regular hole punch to punch small circles out of stickers from the collection. I love how this banner turned out!


I was so happy when this little frame was displayed on the mantle at Scrappin' in the City!! Hope you have a great weekend!

I love reading each and every comment! Be sure to keep up with me on Instagram, Pinterest, and Facebook!

Lucky Charm printer tray

Wednesday, January 8, 2014


My mom and I made my coworker a decorated printer tray using American Crafts "Lucky Charm" and other coordinating bits. Her and her boyfriend are so sweet together. I LOVE how it turned out. Seriously one of my favorite things I've ever made. And the recipient loved it. She said if her house was on fire, she'd grab it off the wall. That's pretty serious! ;)


I backed each spot on the tray in different colors. Most are from Lucky Charm, although some are not. The others matched fine tho! 


I cut the "LY" off this chipboard accent and it fit perfectly into one of the spots. I finally got to use some Heidi Swapp letters for their initials. The bows are from Freckled Fawn.


We used tons of stickers and small cutouts to decorate each spot.


I love these little love note envelopes!


There were plenty of sweet sentiments to include in some of the spots.


Those spots on the left side were tricky because they're so skinny. I'm glad I finally got to use one of those Martha Stewart keys I just *had* to buy!


Such a sweet pic!


How cute is this??

I love reading each and every comment! Be sure to keep up with me on Instagram, Pinterest, and Facebook!

Baby Blocks Decor

Tuesday, December 3, 2013


A friend was throwing her sister a baby shower, and asked me to help her with part of the decorations. She was inspired by a picture she saw on Pinterest. I cut these letters and shapes using my Cameo. It seriously took just a few minutes, but had such a big impact. I cut everything out in brown, green, and yellow and gave her white card stock to glue it on.

The name of the baby is a secret, so she spelled out "boy" on the blocks:


I used parts of a couple of cut files I already had, and then bought a couple more cut files. How adorable is that baby deer? I shrunk the star, then duplicated it and scattered it on the turtle. It might be my favorite one... I cut the footprints out on the white card stock, then gave her a piece of brown to put behind it for color - that way she didn't have to glue down all those little toe prints.


She put them together using square boxes from work and some blue masking tape for the edges. How cute are these??


I love reading each and every comment! Be sure to keep up with me on Instagram, Pinterest, and Facebook!

DIY Dyed Bottle Brush Trees

Wednesday, November 20, 2013


I love these DIY dyed bottle brush trees!! I got an 8-pack of mini white sisal trees at Michael's for $2 (well I only paid $1.49 since I had a coupon, but whatev...) Then I used my Heidi Swapp Color Shine to spruce up the trees, haha ;) I'm sure other mists would work, but these were the perfect colors. They look very vintage to me, which is the look I was hoping to achieve!


I used Tinsel, Teal, Gold, and Primrose.


These little ones are going to be placed in a small apothecary jar on my piano... but I would like to spray some bigger trees and see how they turn out! 
 

Have you used any mists on bottle brush trees? Any brands I should try? Any brands I should avoid?

I love reading each and every comment! Be sure to keep up with me on Instagram, Pinterest, and Facebook!

Hello Autumn Wreath

Thursday, November 7, 2013


I made this fall wreath using Basic Grey's Persimmon collection. I used every sheet in the collection - I love them all!


I started by arranging rolls of paper in a circle and hot gluing them. I used shorter rolls to make a second layer on top. And then I realized I hadn't kept a sheet of paper to make something to cover up the gaping hole in the middle. (Yikes!!)


Luckily there were some coordinating shapes available in the Silhouette Cameo store. I got this cute pumpkin and "Welcome Autumn" sentiment. I just printed the sentiment onto scrapbook paper from another line - I think it matches well enough! Then I cut the pumpkin shape and put it over the middle of the wreath. I added a couple of star and arrow stickers from the Persimmon collection and considered it done!


Here you can see the dimension:


I love reading each and every comment! Be sure to keep up with me on Instagram, Pinterest, and Facebook!

LinkWithin

Related Posts Plugin for WordPress, Blogger...
Proudly designed by Mlekoshi playground