How to make monthly onesie stickers on the silhouette cameo

Monday, April 15, 2013


Sorry I'm a little late posting this - I originally said I was going to post it last week, but life got in the way! Click on the pictures to make them bigger and easier to see. As I do more Cameo related posts, I'm adding the pictures and links to my Pinterest board. Check it out!

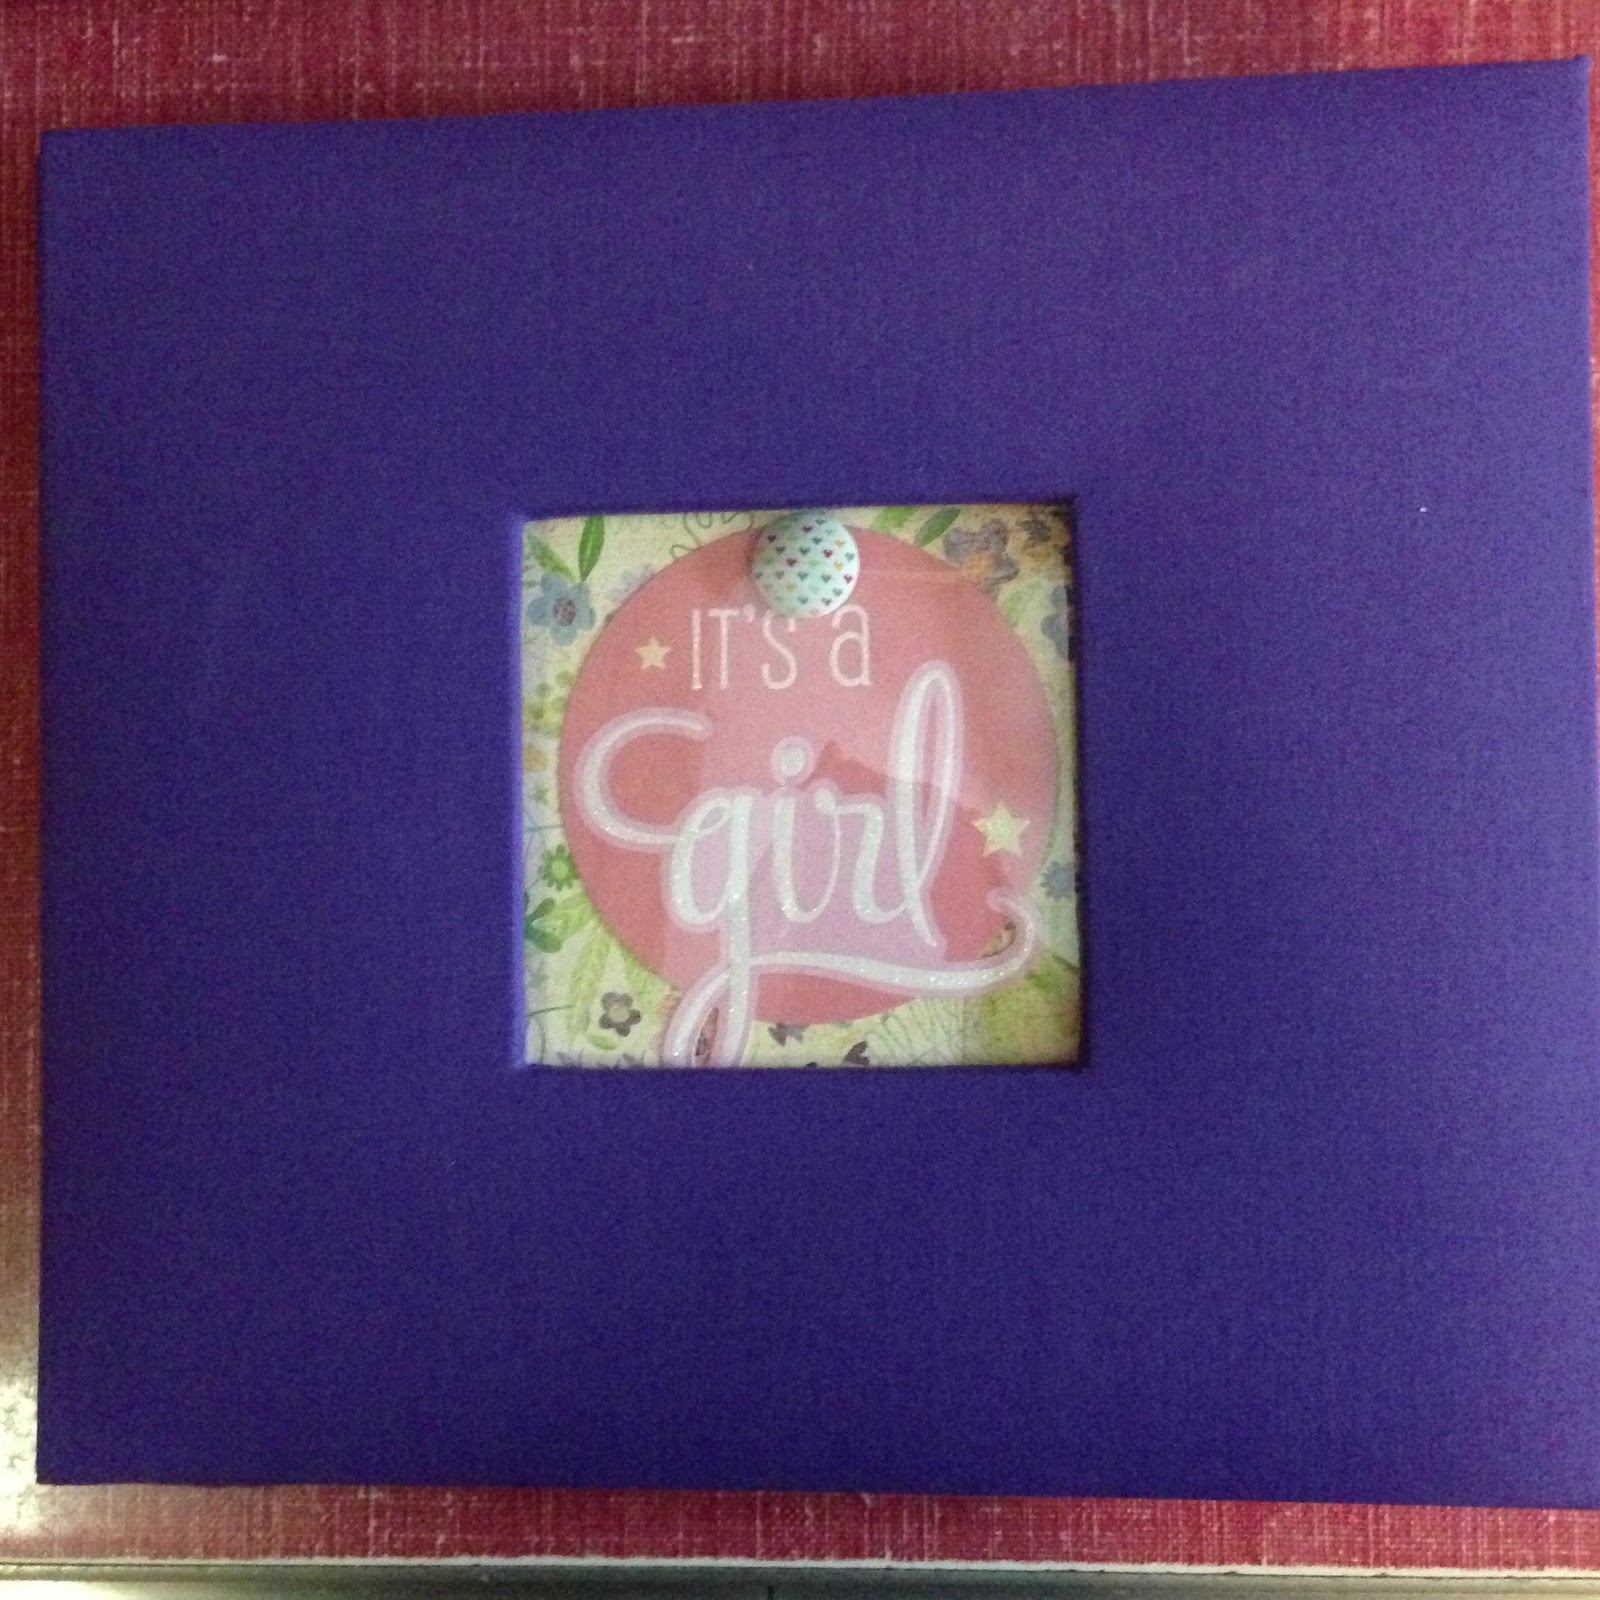
I made some monthly onesie stickers to coordinate with the baby book I made for a friend. I used an older scrapbooking line, Basic Grey's Oh! Baby Girl. I was able to find digital papers online at Basic Grey's store, so the stickers are the same patterns found in the baby book. I used the Silhouette white sticker paper and the print and cut feature to make the stickers.


First I imported the digital scrapbooking papers into my Silhouette Library. I then set up my Silhouette page for a sheet of 8.5"x11" sheet of sticker paper, and added the registration marks.


Then I added a cut file of a circle and duplicated it so that there were 4 circles on the page. If you made them a bit smaller, you might be able to get more circles on the page and use 1 less sheet of sticker paper.


Then I selected a circle and opened the fill pattern window. I scrolled down to the bottom to see My Patterns and selected one of the digital papers. At this point, you can go to Advanced Options and change the scale of the pattern if you want to make it bigger or smaller.


Next, I added text to spell out '1 month'. (This is shown on an empty circle so it is easier for you to see).  You can choose the size and font you want. Then I selected the text and opened the fill color window. I used black to fill in the writing, but you can choose whatever color you want.


Open the cut style window and select your text in each circle. Click 'no cut' and make sure that only the circles have red cut lines.


Repeat the steps for each circle (1-12 months). 


Now you're ready to print and cut! Put the white sticker paper into your printer and click the 'send to Silhouette' button. Click the option to 'print now'.


After it's finished printing, put the sticker paper onto your Cameo cutting mat. Allow the Silhouette to automatically detect the registration marks. Then change your settings and select 'printable sticker paper' and cut!


I then cut a library pocket to store the stickers in. Before I cut it, I added 3 onesie cuts to the front of the pocket.


The final outcome is adorable!


I love reading each and every comment! 
Be sure to keep up with me on Instagram, Pinterest, and Facebook!

2013 Project Life Celebratory Blog Hop : My Tips and Tricks

Friday, April 12, 2013


I want to start by saying "hello" to my followers, and "welcome" to some new faces today! I have lots of pictures and lots of info to share with you today.

This is the 6th stop on the Project Life Blog Hop hosted by Margie from the Nihao, Cupcake! blog. I'm so glad to be a part of such an amazing blog hop - there's some great talent being shown today! You can scroll down to the bottom of this post to get to the next stop. Be sure to visit everyone!


I just wanted to take some time to go over some things I've done and things I've learned about Project Life so far this year. After all, we're 25% done for the year - and I'm proud to say that I'm staying caught up and have completed Week 13. When I've been a week or two behind, I've been able to take an afternoon and get caught up. I started a few weeks into the year, so I'm not quite caught up with posting my weekly spreads. I'll be current within a week or two though. I keep up with all of my Project Life inspiration on my PL Pinterest board.


If you've been following my blog for a while, you already know that I made my own kit from my scrapbooking stash. I've added printables from Pinterest and made some graph paper journaling cards to use throughout the year. I also bought a Project Life grab bag from Studio Calico. At first I was trying to stay cohesive with my color choices, but I tend to like a little bit of everything. So maybe it's not all perfectly coordinated - but it works for me! I'm doing two-page spreads each week. I've added inserts on a couple of weeks. I have a variety pack of pocket pages from Becky Higgins. I've bought some different configurations from WRMK at Michael's. I even used baseball card pages for one week (my favorite week so far!)


I've used my Silhouette to cut out a few things for Project Life, and can't wait to incorporate it more throughout the year. I had trouble finding horizontal filler and quotes cards when I first started Project Life, so I made some of my own in Silhouette Studio.


When I made my first layout for Project Life, I felt very overwhelmed and didn't know where to start! It's taken a few weeks to find my stride, but I think I have found a method that works for me. 

First of all, I use an app called Momento on my iPhone to keep up with my daily activities. My pictures automatically sync with my Macbook, so they are always up to date. I also keep 'stuff' (tickets, handouts, etc). in a certain place so I can easily access them each week. I encourage my husband to send me pictures that he takes, so my PL won't just be a reflection of my own life. When he sends me pics, I save them to my camera roll so they will sync to iPhoto. I already made my 'week' cards for the year, so I pick one to use for the current week. 


Each week, I get out my PL notebook and make some quick notes about the week. It's easier for me to have things written out. I look at Momento and write down what I did for each day, and look at iPhoto to see if there are any pictures I want to include. I don't include every single thing in my Project Life, but this helps me narrow down what I want to include.


I then try to figure out where I want all the pictures to be. I go ahead and print the pictures I want to highlight for the week and then try to fill in the gaps. I've had a lot of success writing topics and notes about pictures on post-it notes and sticking them on the pocket pages. This way, I can easily move them around if I change my mind. Then I know which size to print the rest of my pictures.


There are some things I include every week - a #currentlylist, an 'on the blog' journaling card that I made, and my mani/pedi. I just started my blog this year, so it's really important to me. I include my mani/pedi because that is my "me time" and I want to remember all the fun things I had done to my nails!

I have a small basket on my scrapbook table that keeps stickers, labels, alphas, frames, and embellishments easily accessible.

I bought a medium organizer box from Close To My Heart to store my Project Life cards. I have them divided by vertical and horizontal filler cards, vertical and horizontal journaling cards, and vertical and horizontal quote cards. I use binder clips to keep them separated.


Here are a few of my favorite Project Life pages (with some close-ups) from this year. You can see them all by clicking on the Project Life label on the right side of my blog.


Ok, the next stop is Barbara.

I hope this insight into my Project Life has inspired you on your journey. I'm always on the lookout for new tips and tricks, so feel free to share yours in the comments! Be sure to visit all the great blog hop participants!!


Maya        http://mayadahan.blogspot.com
Emily        http://mrscraftyadams.blogspot.com <----- you are here!
Barbara    www.maynardpl.blogspot.co.uk <---- go here next!
Katina        www.lovinglifeslittleblessings.com
Nicole       http://nicolemann.blogspot.ca
Brooke       www.graceandlight.typepad.com
Kelli        http://whimsikel.blogspot.com
Shay         http://sbookinshay29.blogspot.com

I love reading each and every comment! 
Be sure to keep up with me on Instagram, Pinterest, and Facebook!

Project Life Week 12

Monday, April 8, 2013


I've been playing catch-up on Project Life this weekend. I guess 2 weeks behind isn't so bad really! This week was pretty simple - I added a note from my husband (written on a napkin in my lunch at work), my #30lists for the week, St. Patrick's Day visit to the movies, a collage photo, and a Silhouette Cameo cut.

Full spread:

project life

Left Side: I tore the napkin and put it on two 4x6 cards. I won an Instagram contest and got to pick a mini album and a mini kit. These arrived this week! We also got a new water heater (after getting back from vacation and realizing ours was leaking).

project life

Right Side: a collage photo of my #30lists project, and the "luck" Cameo cut.

project life

Are you keeping up with Project Life?

I love reading each and every comment! 
Be sure to keep up with me on Instagram, Pinterest, and Facebook!

30 Days of Lists: March 17, 18, 20, 21, 22, and 24, 2013

Friday, April 5, 2013


I'm back with more pictures from my 30 Days of Lists project. This time I'm covering Days 17, 18, 20, 21, 22, and 24. I've made the lists for all 30 days of March. However, I skipped making a couple of pages because I'm not sure how I want to do them yet. I don't do a good job when I try to force things, so I'm going to wait until I'm feeling those topics a little bit more. I actually skipped Day 23 (past injuries) because I really couldn't think of anything to put on the list. Instead, I did a 2-page spread for day 24 (pets - past and present).

I used tons of washi tape and SMASH pads for these pages.

Day 17 - My biography would include tales of:

#30lists, 30 days of lists

Day 18 - So far this year I have

#30lists, 30 days of lists

Day 20 - I do not regret...

#30lists, 30 days of lists

Day 21 - Today's weather reminds me of...

#30lists, 30 days of lists

Day 22 - Roadtrip Playlist

#30lists, 30 days of lists

Day 24 - Pets (past and present). On the left is Gruffy (my husband's dog) and on the right is Harley (my parents dog). These are the only pets I've ever had. (except maybe a goldfish or something!)

#30lists, 30 days of lists


I love reading each and every comment! 
Be sure to keep up with me on Instagram, Pinterest, and Facebook!

How to make a scrapbook for Baby's First Year

Wednesday, April 3, 2013


I've been meaning to share this baby book for quite some time now - I made it back in January! I've been hoarding Basic Grey's 'Oh! Baby Girl' scrapbook paper for years. I'm on a mission to use up some of my scrapbook stash this year, so I finally decided to use it to make a book for a dear friend. I also made her some matching onesie stickers on my Silhouette Cameo (look for them in a post next week!).

baby scrapbook

I used a simple format for all the pages and put them together assembly-line style. I cut 6x8 pieces out of each paper. I used a 2" border on each page. K&Co makes some cute baby borders that I used to cover up the line between the pieces of paper. Then I added tons of stickers and diecuts to each page for embellishment!

My most favorite paper from this paper line is this adorable elephant print. I had to use it on the front page! I used my Silhouette cameo to cut out the baby's name. The plaid photo mat is from Heidi Grace.

baby scrapbook

I put a page for a birth picture or birth announcement right at the front of the book. Some Amy Tan stickers were the perfect embellishments.

baby scrapbook

A 'details' page is next.

baby scrapbook

I included a page for each month to add the onesie sticker pictures.

How adorable are these diaper pin stickers on the corners of the photo mat??

baby scrapbook

And how about these onesie stickers on the border!?

baby scrapbook

baby scrapbook

I added a couple of pages with Polaroid frames. It will be hard to pick just a few favorite Instagram pictures to put on these pages!

baby scrapbook

I used the Silhouette Cameo to write out "Maddie's Milestones" across two pages. I cut out frames and adhered them to the papers. I thought this would be a nice way to keep track of the new things Madeline does or achieves during her first year, along with the dates each thing happens (first smile, first night she sleeps all the way through, first laugh).

baby scrapbook

I really enjoyed making this book and am so glad that my friend loved it!

I love reading each and every comment! 
Be sure to keep up with me on Instagram, Pinterest, and Facebook!

Project Life - Week 11

Monday, April 1, 2013

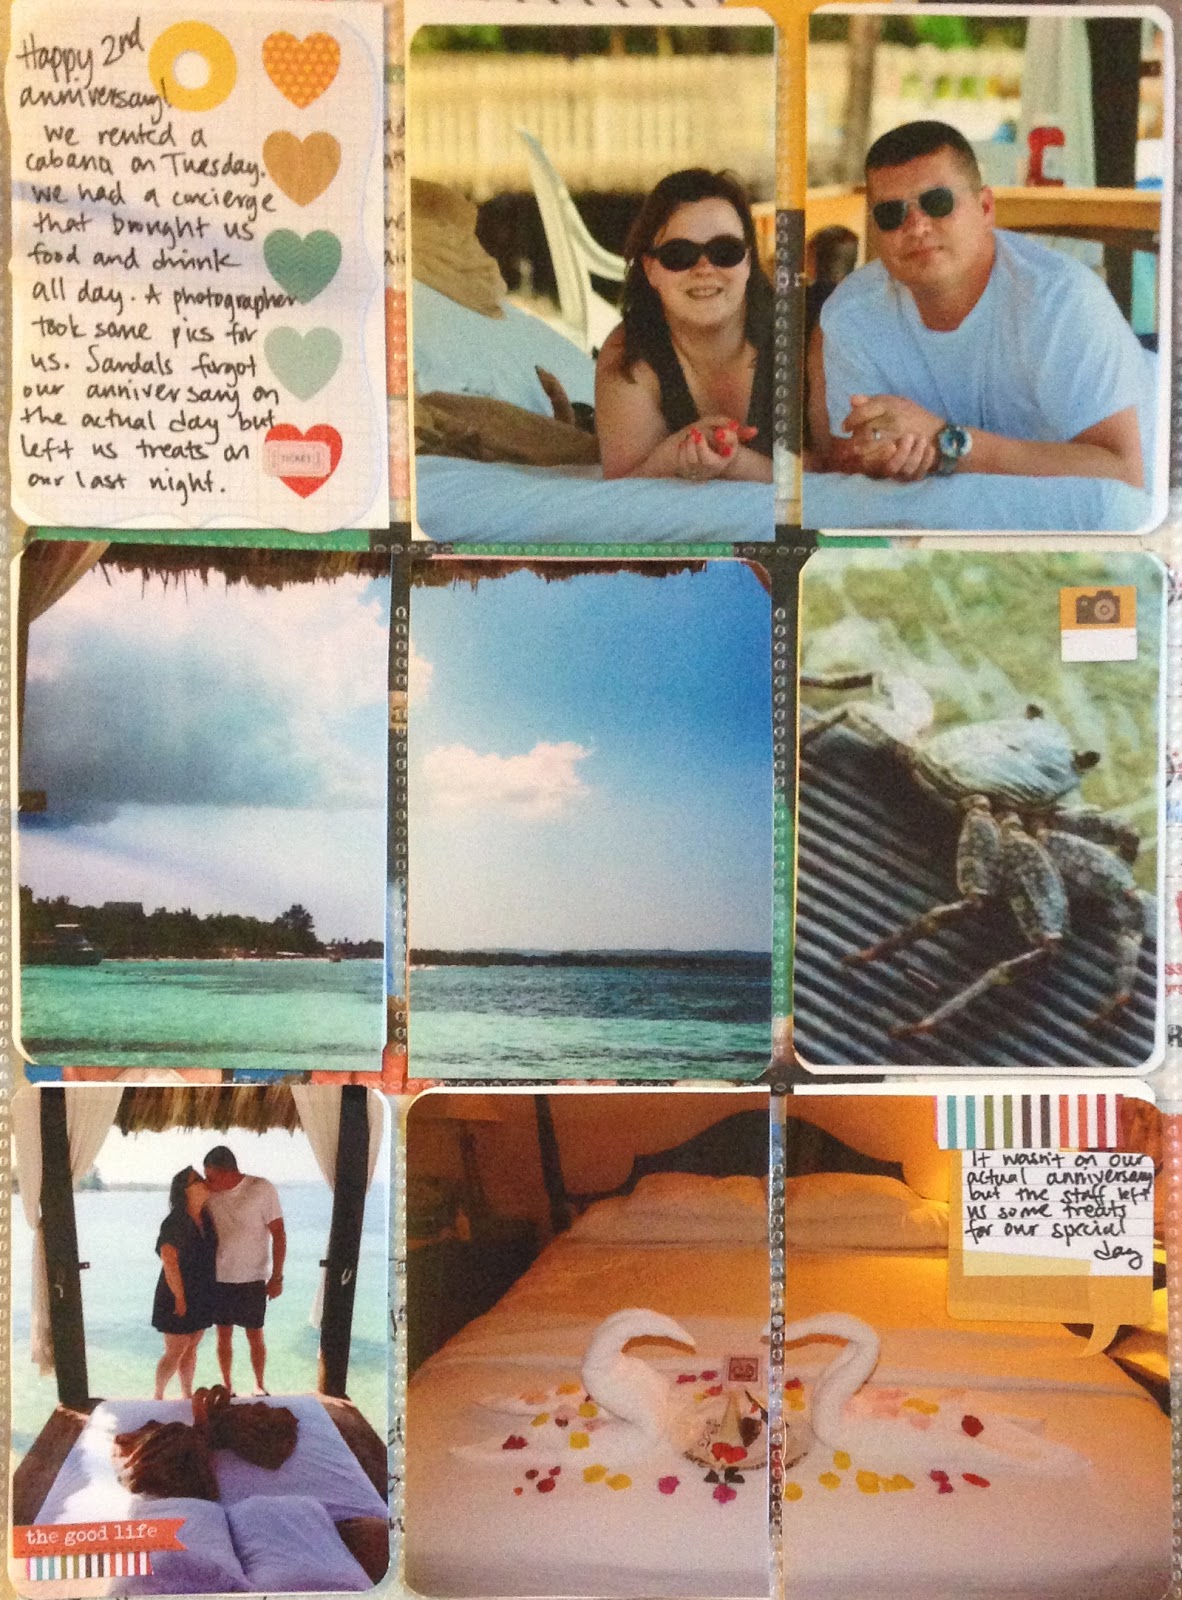
Week 11 was a great week - we went to Sandals in Negril, Jamaica to celebrate our two-year wedding anniversary. We did so much that I included two (!) inserts this week. I changed the dates for the 'week' by a day (I did Sunday - Friday) so I could just concentrate on the trip for Week 11. That means I'll have an extra long week (about 9 days) in 'week 12.'

Here's the left side of Week 11. We took a picture on the plane bright and early Sunday morning (5:30am). I bought an iron-on patch in the airport - I knew it would be a perfect addition to my Project Life! When we got to the airport, we were taken to the Sandals lounge, where we were served Red Stripe beer.

project life

I included my actual packing list.

project life

I cut down a Recollections 4"x6" journaling card that I picked up at Michael's this past week. The sandal is part of a luggage tag that was sent to us with our confirmation paperwork.

project life

Here's the front of the first insert. I used Design G from Becky Higgins. Here I documented our room (and room number), the view from our room, and the Sandals resort.

project life

I used the back side of the first insert to highlight some of our favorite foods and drinks.

project life

This is the front of the second insert. I used a baseball card sheet that has 9 pockets on it. Each pocket is approximately 2.5" by 3.5". I had 3 pictures that I cut in half and inserted them into 2 pockets. I'm still deciding if I like that.

project life

I used the back side of the second insert to show some of the pictures that were taken by the professional photographers during our stay. 

project life

I just received the Blush Project Life kit (from HSN) this week. I cut down one of the filler cards and added alphas to spell out a Bob Marley lyric.

project life

This is the last page for Week 11. I got a Project Life grab bag and used one of the 4"x6" cards (top left). I put a little tag from DCWV 'Sunday Afternoon' line on top of the 4"x6" card.

project life

I saved the box from the hydrocortisone cream I had to buy for my mosquito bites.

project life

 I loved this glass bottom boat tour! I just wish there had been more brightly-colored fish!

project life

I linked up at The Mom Creative for Project Life Tuesday.

I love reading each and every comment! 
Be sure to keep up with me on Instagram, Pinterest, and Facebook!

LinkWithin

Related Posts Plugin for WordPress, Blogger...
Proudly designed by Mlekoshi playground