Showing posts with label tutorial. Show all posts

Let's talk Planners - and a freebie!

Monday, January 1, 2018


Happy New Year! I spent the day straightening up, finishing products, cleaning up my craft desk, and hanging out with hubby. I also made some Happy Planner stickers!

I started using the Happy Planner last year and I love that it's a disc bound system. That means I can add pages, remove them, add photos, and more. I'm not a big decorator but I do have a ridiculous sticker stash and I plan on using it a little more than I did last year. I need room to write, people! This is a functional planner.

So I'm using two planners this year and made stickers to go with each: a mini Shake it Up Happy Planner that I'm using for fitness (got it at Michael's). I made scale stickers and yoga stickers. I do a weekly weigh in and will add those stickers to the weekly pages. The yoga stickers will be put on the monthly pages on the days I do yoga. It will be neat to see those calendars at the end of the year!


My other planner is the classic Striped Floral Happy Planner for my every day stuff (it was a Hobby Lobby exclusive). I wanted a way to keep up with when I finished books so I'll add the book icon stickers to the bottom section of my planner on the days I finish a book. I've found that my week goes SO MUCH SMOOTHER when I make time to plan my week on Sundays... so I'll be adding these cute "Happy planner" stickers to my Sundays!


I made these stickers a couple of ways and thought I'd share in case you were inspired to make your own. In all cases, I opened the pictures of my planners in the design file so I could use the eye dropper tool to select colors from the planner. Then you have color coordinating stickers!


Scale: I bought some printable scale stickers on Etsy, copied and pasted one scale into Silhouette software, and traced it. I made the scale "no cut" and then drew a square around it for the cut lines.

Yoga: I took a regular cut file from the Silhouette store, made the lines "no cut" and then drew a circle around the yoga girl. I just had the circle lines as cut lines.

Book: same as the yoga girl except I made a square shape around it for the cut lines.

Happy Planner: I just drew this one out of basic shapes! I made a rectangle for the book, added a heart and drew little skinny rectangle boxes for the discs. Again I drew a shape around the whole thing for the cut line.

If you're like me and need a little reminder to schedule some planner time in, feel free to download the Happy Planner cut file for your Cameo! I left it editable so you can change the colors to match your planner if you want!


Do you use a Happy Planner?

I love reading each and every comment! Be sure to keep up with me on Instagram, Pinterest, and Facebook!

How to choose scrapbook papers

Thursday, October 30, 2014


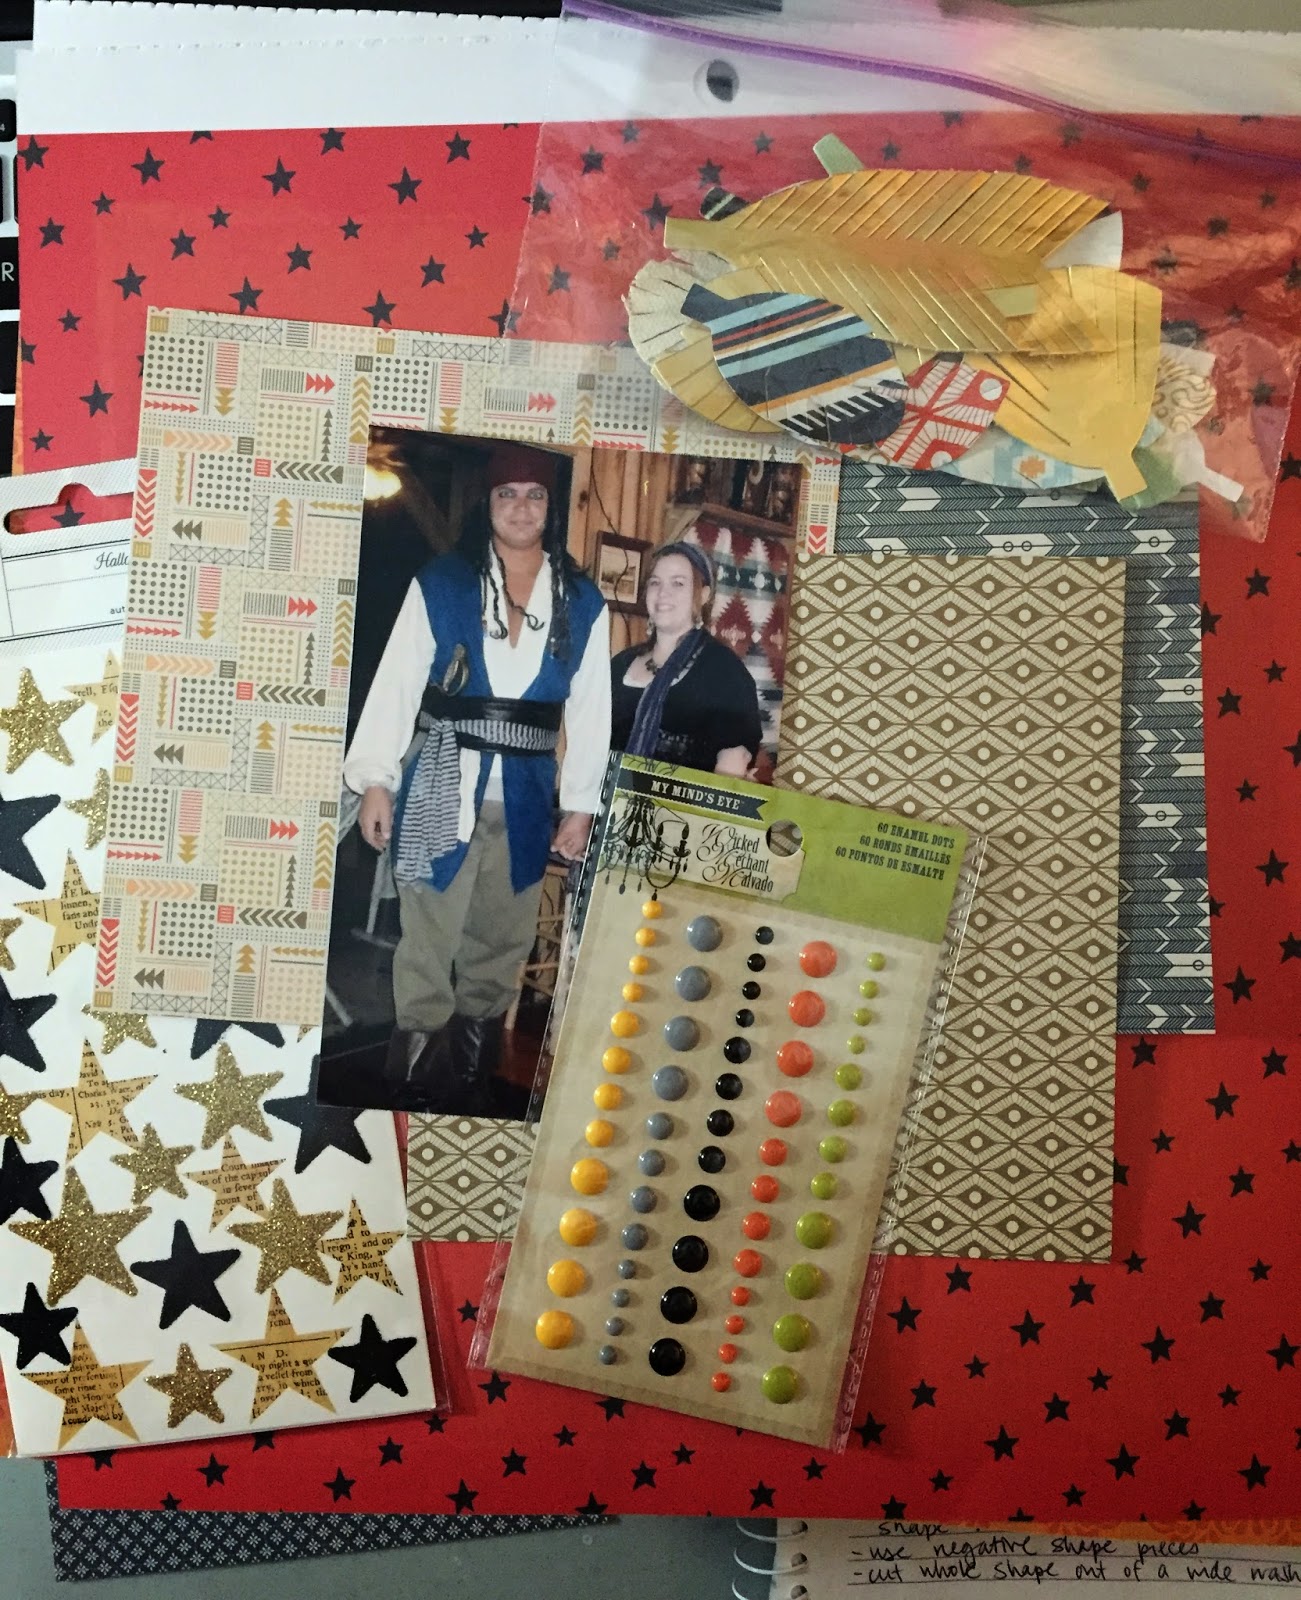
Thought I'd show you something a little different today... I've been using my phone while I scrapbook (no surprise to anyone that knows me!) and hope this could be helpful to someone. Sometimes I have a difficult time deciding which paper to use... so I just take pictures of my options! Then I can quickly scroll back and forth between options to see which one I like the best.

I recently made a Halloween scrapbook layout and mixed and matched papers from different collections to complete it. I gathered some embellishments and I wanted to use and then picked out 3 12x12 papers that I liked. I took pictures of all 3 and compared them before deciding which one to use.


Once I choose the background paper, I then took pictures of different options of 6x6 papers I wanted to put behind the photo.


I also used this technique when I made this layout about Harley. It took me a minute to decide exactly which papers to layer and where to place the vertical strips. I moved them around and took pictures until I found my best combination. I also cut out a couple of die cut titles for that page and took pics of those before deciding which one to use.

How do you decide which colors or papers to use?

I love reading each and every comment! Be sure to keep up with me on Instagram, Pinterest, and Facebook!

Paper Medallion Tutorial

Thursday, March 6, 2014


I have a little tutorial for you today - Mom used this technique when we made all the decorations for my cousin's baby shower and I just had to share! Now bear with me - the pictures aren't the best, but sometimes you have to work with what you've got :)

First, cut strips of paper (we used 2" x 12" strips). You can leave them plain on both edges OR use a border punch down one side to give your medallion some extra flair. Next, you want to score the paper every half inch, and then fold it back and forth until you get something that looks like this:


Or you can use your Cameo and make it even faster! We used a cut file from the Silhouette Online Store, but you could easily draw the strip, perforate it every half inch, and then cut it out and fold the paper. You could add hearts, stars, or a scalloped edge to one side to make it pretty.


We ended up using 2 strips to make each medallion. Just glue two folded pieces together and then bring your ends together, forming a circle. An easy way to hold that circle shape is by placing your papers in a small box lid:


Mom cut out one corner so she could slide in a popsicle stick. We were making things for the centerpieces.


Glue a circle to each side of the medallion:


And put something on top of it to hold it in place until it dries!


You could add a sticker, initial, charm, or a die cut to the circle to embellish the medallion.


How cute is that??

I love reading each and every comment! Be sure to keep up with me on Instagram, Pinterest, and Facebook!

LinkWithin

Related Posts Plugin for WordPress, Blogger...
Proudly designed by Mlekoshi playground